Dockerizing my first app
August 05, 2016 - by Alexandra White
Confession: upon starting my job at Joyent as Documentation Editor, my experience with Docker amounted to hearing the word and having a vague understanding of what it means for the state of development. Previously, I had worked as a front-end developer, for the most part without total knowledge of the environment my work was running in. I started playing around with the concepts of containers and images and got up to speed quickly. Now that I'm done with my first week, I’m going to walk you through step by step how to dockerize an app.
For this tutorial, I’ll be dockerizing Verge Pull Quote Generator, an HTML+JS application by Dave Schumaker. What’s great about this app is that I can make my very important literary pieces into illustrated works of art. Pull quotes add emphasis to the most memorable parts of an article. And you, too, can create a pull quote once we've dockerized this app.
If you want to see this process in action, you can watch my screencast of dockerizing the app.
What is Docker and why do you care?
In the past (and present), our applications ran on VMs, little virtual servers. Cloud infrastructure made it easy and cheap to get VMs, but we were still saddled with the frustrations of managing these little servers and updating them with each code deploy. Docker is designed so that developers have all of the tools they need (code, runtime, system tools, system libraries) to install a piece of software on a server, regardless of the environment.
There is a full glossary of terms that will come in handy if this is your first experience with Docker, but here are some of the basics that you need to know:
Dockerfile: the main set of instructions a user can execute to form a new Docker image, via the “docker build” command. The instructions are executed in the order they are written.
Image: an organized collection of files, configurations and installed programs, as well as a set of instructions (from the Dockerfile) as to how to execute those items . An image typically contains layered filesystems. Images do not have a state and do not change.
Container: a running instance of a Docker image. You can write to this container and make changes, but this does not affect the image. If the container is deleted, the changes you’ve made are deleted with it unless they are in turn committed to a new image.
Using Docker, we’re going to package up everything needed to run our application on our laptops and in production in the cloud.
Step 1: installing Docker
The most important step to be successful is to actually install Docker. The Docker website has getting started guides for Mac, Windows, and Linux.
- Linux - https://docs.docker.com/linux/started/
- Mac - http://docs.docker.com/mac/started/
- Windows - http://docs.docker.com/windows/started/
Once you’ve installed Docker, be sure to test and ensure that Docker is properly installed on your laptop, open your command line terminal. Some good commands to run are docker --version to see what version of Docker is installed as well as docker ps to see if there are any existing running containers. If this is your first time, the answer to that question should be that there are none. We’ll use this command again later to make sure that the container we build is up and running.
Once you’ve confirmed Docker daemon is running properly, it’s time to see what Virtual Machines (VMs) are available. If you have a newer Mac then you can just use Docker for Mac (which came out of beta in the last couple of weeks) and ignore anything here about Docker Machine. If you’re running an older version of Windows or MacOS, the Docker Toolbox comes pre-installed with Docker Machine which lets you create your own virtual servers on your computer, cloud providers, or your data center.
Docker Machine will create the server, install Docker on it, and configure the Docker client to talk with it. If you’re running Linux, refer to the Linux distribution instructions when installing Docker Engine. Full disclosure: this article is geared towards those running Windows or MacOS.
If using Docker Machine, you can see what machines have been created by running docker-machine ls. default will be created by default. To see all of the commands available for docker-machine, run:
docker-machine helpYou will encounter a list of commands including start, stop, status, and ip. More about the use cases for some of these commands and your Docker Machine VM later.
Step 2: dockerize our application
We’ll be working to dockerize the Verge Pull Quote Generator, so that you can create personalized pull quotes without the necessity of installing an HTTPd server. First thing’s first: download a copy of this repository or fork it via git. To dockerize this app, all we need to do is create a Dockerfile within the directory containing the application.
In your terminal cd into the directory where you’ve installed the application. To create your Dockerfile, run the following command:
touch DockerfileThe command ‘touch’ creates a Dockerfile which you can now open in your text editor of choice (mine is Sublime Text) or your favorite Unix editor (such as vi or pico). In our Dockerfile we are going to lay out a specific set of instructions for how to build our container which will have all of the resources needed to run our application.
It’s important to choose a base image to pull in order for Docker to know where to start. This base image can be FROM scratch, which is Docker’s minimal image that indicates the build process will begin at the next command in the Dockerfile. We’ll be using Apache HTTPd as our base image, so that our application has a web server to run on. Lucky for us, there is an official HTTPd repository that already exists. Running Apache is going to be our first task within the Dockerfile:
#FROM is the base image for which we will run our application
FROM httpd:latestNote: Docker uses the # as an indicator a line is a comment and not actionable code. I’ll be using it quite a bit, as I believe it’s important to comment your work to understand it in the future.
By adding the tag :latest to the image, we’ll ensure we have the most up-to-date version of Apache HTTPd running, and there will be no need in the future to update a version number. That said, if future versions of Apache HTTPd could break your application, you will want to indicate a specific version number. That will ensure your application builds with the same base image version each time, but it means you'll have to update the tag to get a new version of Apache HTTPd.
Our next step will be to copy the contents of our application into the Apache environment. There are numerous files and folders within the Verge Pull Quote Generator, and it’s important that they are copied into the appropriate folders.
COPY syntax is as follows:
COPY For copying this application, add the following to your Dockerfile:
# Copy files and directories from the application
COPY index.html /usr/local/apache2/htdocs/
COPY css/ /usr/local/apache2/htdocs/css/
COPY fonts/ /usr/local/apache2/htdocs/fonts/
COPY images/ /usr/local/apache2/htdocs/images/
COPY js/ /usr/local/apache2/htdocs/js/
Finally, we’ll be telling Docker what port to use for our application. Insert this final line into your Dockerfile:
# Tell Docker we are going to use this port
EXPOSE 80
Congratulations. You have a complete Dockerfile that should look like this:
#FROM is the base image for which we will run our application
FROM httpd:latest

# Copy files and directories from the application
COPY index.html /usr/local/apache2/htdocs/
COPY css/ /usr/local/apache2/htdocs/css/
COPY fonts/ /usr/local/apache2/htdocs/fonts/
COPY images/ /usr/local/apache2/htdocs/images/
COPY js/ /usr/local/apache2/htdocs/js/

# Tell Docker we are going to use this port
EXPOSE 80
Adding a Dockerfile is not enough to build and run the application, it's just the instructions for how to build it. For that you’ll need to connect to run docker build, and to do that on our laptops, we need a virtual machine. (Yeah: this tutorial is focused on Mac and Windows environments. Linux users can snarkily laugh at the need for a VM, and down below I'll explain how we can run it in production on Triton on bare metal with no VMs.)
Step 3: VMs and running your application
For Mac and PC users, you’ll need to set up a virtual machine to act as your Docker host to build and run your application. If you’re on Linux, you can skip ahead to “building and running your application.”
Set Up a Virtual Machine
Now that you’ve created a Dockerfile and added it to the Verge Pull Quote Generator, it’s time to see our application in action. We will finally be able to create some inspiring pull quotes. This can’t be done without a Docker host, and for most users that requires a VM. We’ll be using docker-machine, which we already installed in Step 1.
To see if you have any running Docker machines, run the following command in your terminal:
docker-machine lsIf you've just installed Docker, you probably have no machines created just yet and the list will be empty. To create your machine, run the following command in the terminal:
docker-machine create --driver virtualbox defaultRunning docker-machine create will create the machine, passing the string virtualbox to the --driver flag. The final portion of the command, default, is the name of your machine. If you already have a default or machine of another name, there’s no need to create a new one. With a different name, remember in later documentation that if I refer to default to replace it with the name of your personal Docker machine.
Let’s list our machines again to make sure that they exist by running docker-machine ls. This should reveal your machines (I happen to have two).
NAME    ACTIVE  DRIVER     STATE     URL                 SWARM   DOCKER   ERRORS
default  *      virtualbox  Running  tcp://192.168.99.103:2376    v1.1.2.0
Now that our machine has been officially created, we have to get the environment commands to tell Docker to talk to this new machine. Remember, if you created a machine other than default, replace that name with your VM name. You’ll also connect your shell to your new VM so that you’ll be able to run other Docker commands and set up your application. This is done by running the following command in your terminal:
eval $(docker-machine env default)Extra: Technically, the above command opens a sub-shell to run docker-machine env default, then the output of that command is run in your main shell using eval. You can see all the environment variables that were set by running the command this way:
docker-machine env defaultYour Docker host VM is now up and running and you’re ready to build your application.
Building and running your application
Make sure you’re in the directory of your application (and if not,cd back into it) and run the following command:
docker build -t pullquote .This command will build a container called pullquote. You can see a list of your running containers again with docker ps. It should look like this:
CONTAINER ID        IMAGE               COMMAND              CREATED             STATUS              PORTS                NAMES
70d80bfbd593        pullquote            "httpd-foreground"   6 hours ago         Up 6 hours          0.0.0.0:80->80/tcp   small_turing
You’ve successfully created a container, so it’s time to run your application. Enter the following command into your terminal:
docker run -d -p 80:80 pullquoteLet’s break down this command. docker run is going to tell your application to start running. -d detaches from the container, meaning your application runs in the background rather than the foreground. p 80:80 tells the app to run on port 80. pullquote is the name of the container that you’re choosing to run (the same one you just built).
It’s possible that you’ll receive an error related to your choice of port. If that happens, another application or container is using that port. You have two choices: stop the other application running on port 80 to replace it with pullquote or use a different port. To stop the other application, run docker kill $(docker ps -a -q) to kill all running containers. Go back and docker run your pullquote app again and you should be all set.
If you don’t want to do kill the other containers, run the following command:
docker run -d -p 80 pullquoteInstead of assigning pullquote to port 80 specifically, a randomized port will be generated.
Your application is now running! But how do you see it in action? You’ll need the IP address of your VM. You can get this information by running the following command:
docker-machine ip defaultThis will give you the IP address of the VM default on your localhost. If you’re on Linux and therefore aren’t using Docker machine, you can get the IP address by running ip addr. If you’re not on port 80, you’ll need to refer to the specific port at the end of your IP address, starting with a colon.
Copy the string you receive after running the command and paste it into your browser of choice. When you load the IP address, you’ll know you were successful when you see the following:
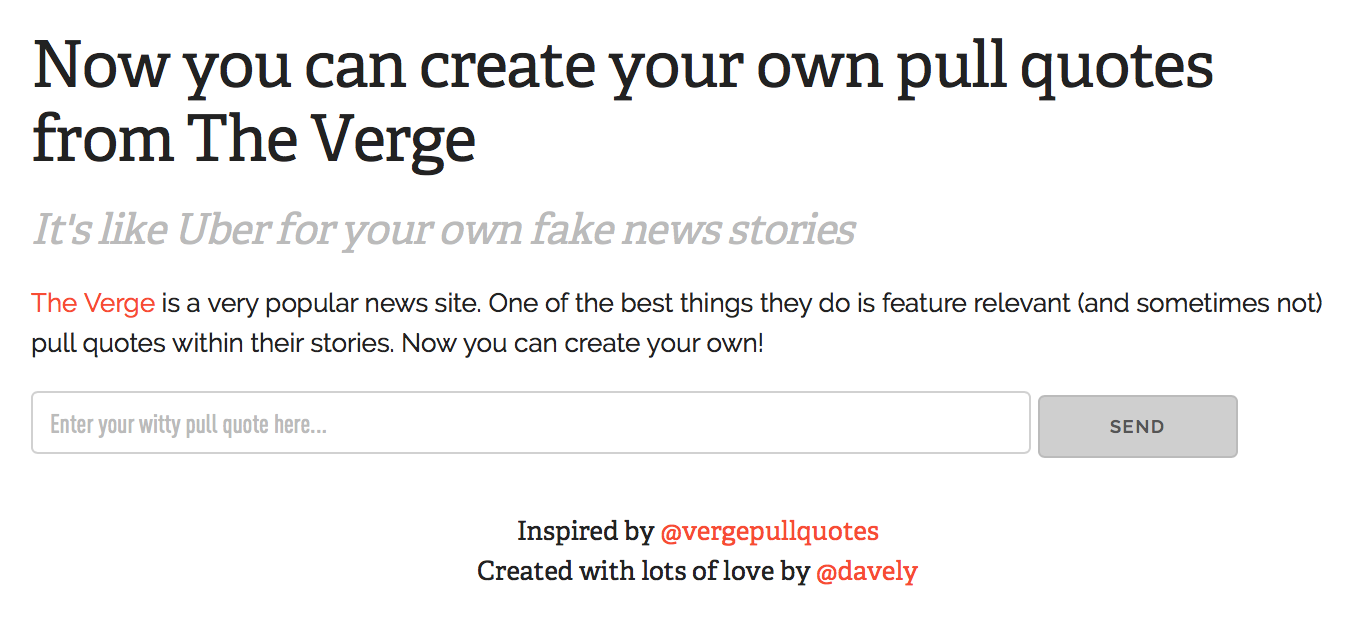
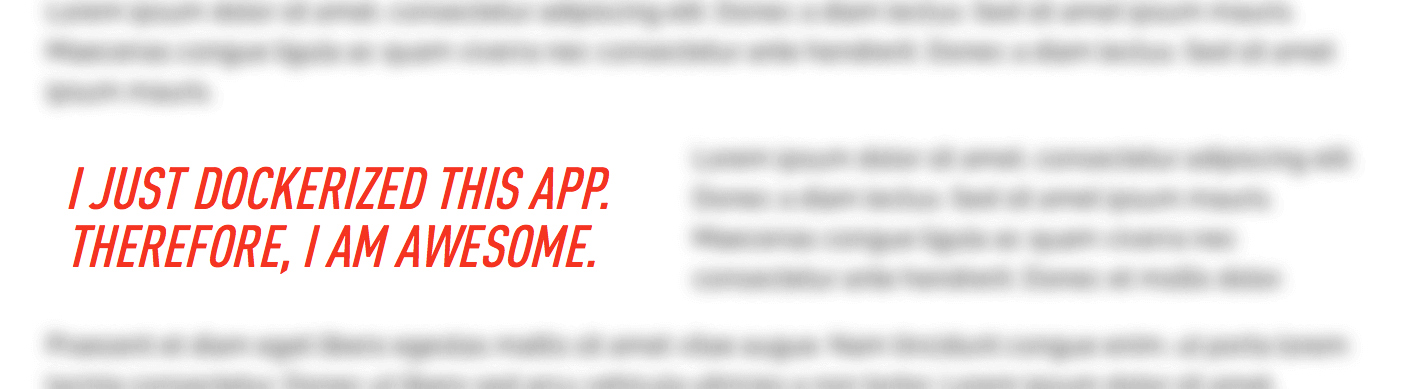
Let’s make sure everything works. Enter your witty pull quote in the input box and click the submit button. You should see the following, your quote replacing my quote within this screen.
Congratulations. You have successfully dockerized your first app and run it on your local machine.
Step 4: pushing to Docker Hub
Now that you’ve dockerized your app, let’s push this image to Docker Hub so that other users can download it and create pithy pull quotes on their local machines. The official documentation is on the Docker website, but we’ll walk through the basics of getting this image up. If you haven’t already, you’ll need to create a Docker Hub account and login in your terminal:
docker loginEnter the username and password you’ve created. If everything worked correctly you should receive a “login succeeded” message.
Create a repository of the same name as your image on Docker Hub. You’ll notice something about the set up: your username is a part of the image name, the second part of the pull request Docker argument.

When I was first trying to push my app to Docker Hub, I was stuck with an error about being “unauthorized.” This is because my username wasn’t included in the local image -- you can skip this step if in Step 3 you build your image as docker build -t instead of just docker build -t .
If your username isn’t already a part of the image name, let’s rename it. You can see a list of your images by running:
docker imagesWhen renaming your image, you can refer to it by either the original name or by the “Image ID,” which should be a string of numbers and letters. Replace image with either the image name or ID and replace yourusername with your username to run the following command:
docker tag /pullquote List the images again to make sure it worked with docker images and you should see something like this:
REPOSITORY              TAG     IMAGE ID       CREATED      SIZE
yourusername/pullquote  latest  208a8c89ff5b   9 hours ago  195.6 MB
pullquote               latest  208a8c89ff5b   9 hours ago  195.6 MB
Notice that pullquote still exists, but so does your newly named
Now that you’ve got an image with your name, you’re ready to push this app to Docker Hub. Once again, replace the string yourusername with your actual username and run the following command:
docker push /pullquote That’s it. Your image is now ready to be pulled and run by anyone. You can get my image on Docker Hub: docker pull heyawhite/pullquote.
Step 5: run your application on Triton
It’s awesome that we can create snarky pull quotes on our local machines, but you know what would be MORE awesome? Being able to share our app with the world so that they can create pull quotes, too. You can do so by putting it out in the world on Triton.
If you haven’t already, sign up for Triton at my.joyent.com. We will need to install the Triton CLI tool, which works with the Triton Cloud or your own private data center to deploy containers to a public cloud.
Once Triton is installed, you can connect Docker to the Triton Cloud by setting up Triton environment variables:
eval $(triton env)You can make sure this was successful by running docker info, which should include your my.joyent.com username in the output. The numbers of containers and images may be different for you depending on previous work done with your Triton account.
$ docker info
Containers: 0
Running: 0
Paused: 0
Stopped: 0
Images: 10
Storage Driver: sdc
SDCAccount:
Logging Driver: json-file
Kernel Version: 3.12.0-1-amd64
Operating System: SmartDataCenter
It’s time to run your container and create pull quotes on Triton. To do so, enter the following command:
docker run -d -p 80 --label triton.cns.services=pullquote /pullquote Note: the --label triton.cns.services in this docker run command is optional, but we'll talk about what that does below.
With that docker run, Triton will pull your container from Docker Hub, then run it on the Triton cloud with no need to setup or manage any VMs. If you want to actually see it on the web and share it with your friends on twitter or via email, you’re going to need the IP address. We’ll be using docker inspect to return information about our container, but first we need to find our container ID.
Run docker ps to list your running containers.
CONTAINER ID  IMAGE              COMMAND            CREATED            STATUS      PORTS  NAMES
f519c5fk2128  yourusername/pullquote "httpd-foreground" About a minute ago Up 55 seconds 0.0.0.0:80->80/tcp       evil_carson
To get the IP address you can use either the container ID or the container name, which was randomly generated for you. Sidebar: someone built an application based on Docker’s naming process which will randomly generate container names.
Get the IP address associated with your container by replacing
docker inspect --format '{{ .NetworkSettings.IPAddress }}' Your console will print the IP address of your container. Open that IP address in your favorite browser and make a pull quote.
However, if you're concerned that the rush of people using your pullquote containers will require more instances for redundancy or scale, or if you're worried about having to update users or DNS settings when you replace or upgrade this very important container, Triton CNS can help.
Triton CNS is an automated DNS solution that allows you to run multiple containers with the same DNS name. Make sure you have Triton CNS enabled by running:
triton account update triton_cns_enabled=true
You can see the DNS names assigned to your containers by running:
triton instance get You will receive a lot of information about your instance, similar to the following:
{
    "id": "f599b5fd-2134-4a68-8554-dc699d9357a9",
    "name": "evil_carson",
    "type": "smartmachine",
    "brand": "lx",
    "state": "running",
    "image": "6e9f2ba8-0ec3-3b9e-86a9-c0b84f0d042a",
    [...]
    "dns_names": [
       "f599b5fd-2134-4a68-8554-dc699d9357a9.inst.d9a01feb-be7d-6a32-b58d-ec4a2bf4ba7d.us-east-1.cns.joyent.com",
       "evil-carson.inst.d9a01feb-be7d-6a32-b58d-ec4a2bf4ba7d.us-east-1.cns.joyent.com",
       "pullquote.svc.d9a01feb-be7d-6a32-b58d-ec4a2bf4ba7d.us-east-1.cns.joyent.com",
       "f599b5fd-2134-4a68-8554-dc699d9357a9.inst.d9a01feb-be7d-6a32-b58d-ec4a2bf4ba7d.us-east-1.triton.zone",
       "evil-carson.inst.d9a01feb-be7d-6a32-b58d-ec4a2bf4ba7d.us-east-1.triton.zone"
       "pullquote.svc.d9a01feb-be7d-6a32-b58d-ec4a2bf4ba7d.us-east-1.triton.zone"
    ]
}
What we care about is the last section, dns_names. This will list all the DNS names assigned to the instance. Some of those DNS names point to the public IP address and some point to the private IP for my instance (we'll talk all about networking in Docker on Triton in an upcoming blog post). And some of the names point to this specific instance, while others point to all my containers that provide the same service, which I specified with the --label triton.cns.services=pullquote when I did the docker run.
The DNS name for all my containers that provide the same service looks like this:
.svc...triton.zone The awesome thing about Triton CNS automated DNS is that those *.svc.* names work for any number of instances of the same app, and even if I redeploy my app. Triton CNS will keep the DNS information up to date.
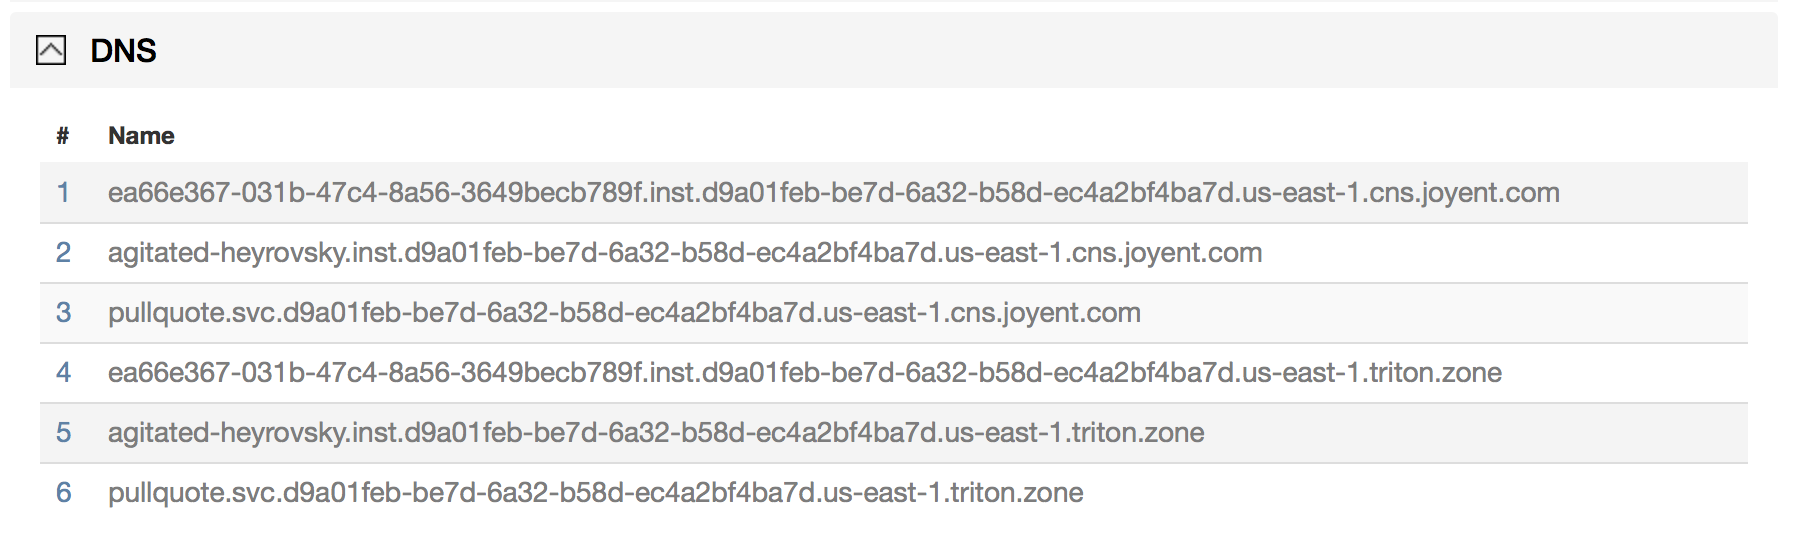
Additionally, you can also find this information on the my.joyent.com dashboard. Once logged in, locate the “compute” tab and choose “instances,” where you'll see a full list of all of the containers and VMs you have running on Triton Cloud.
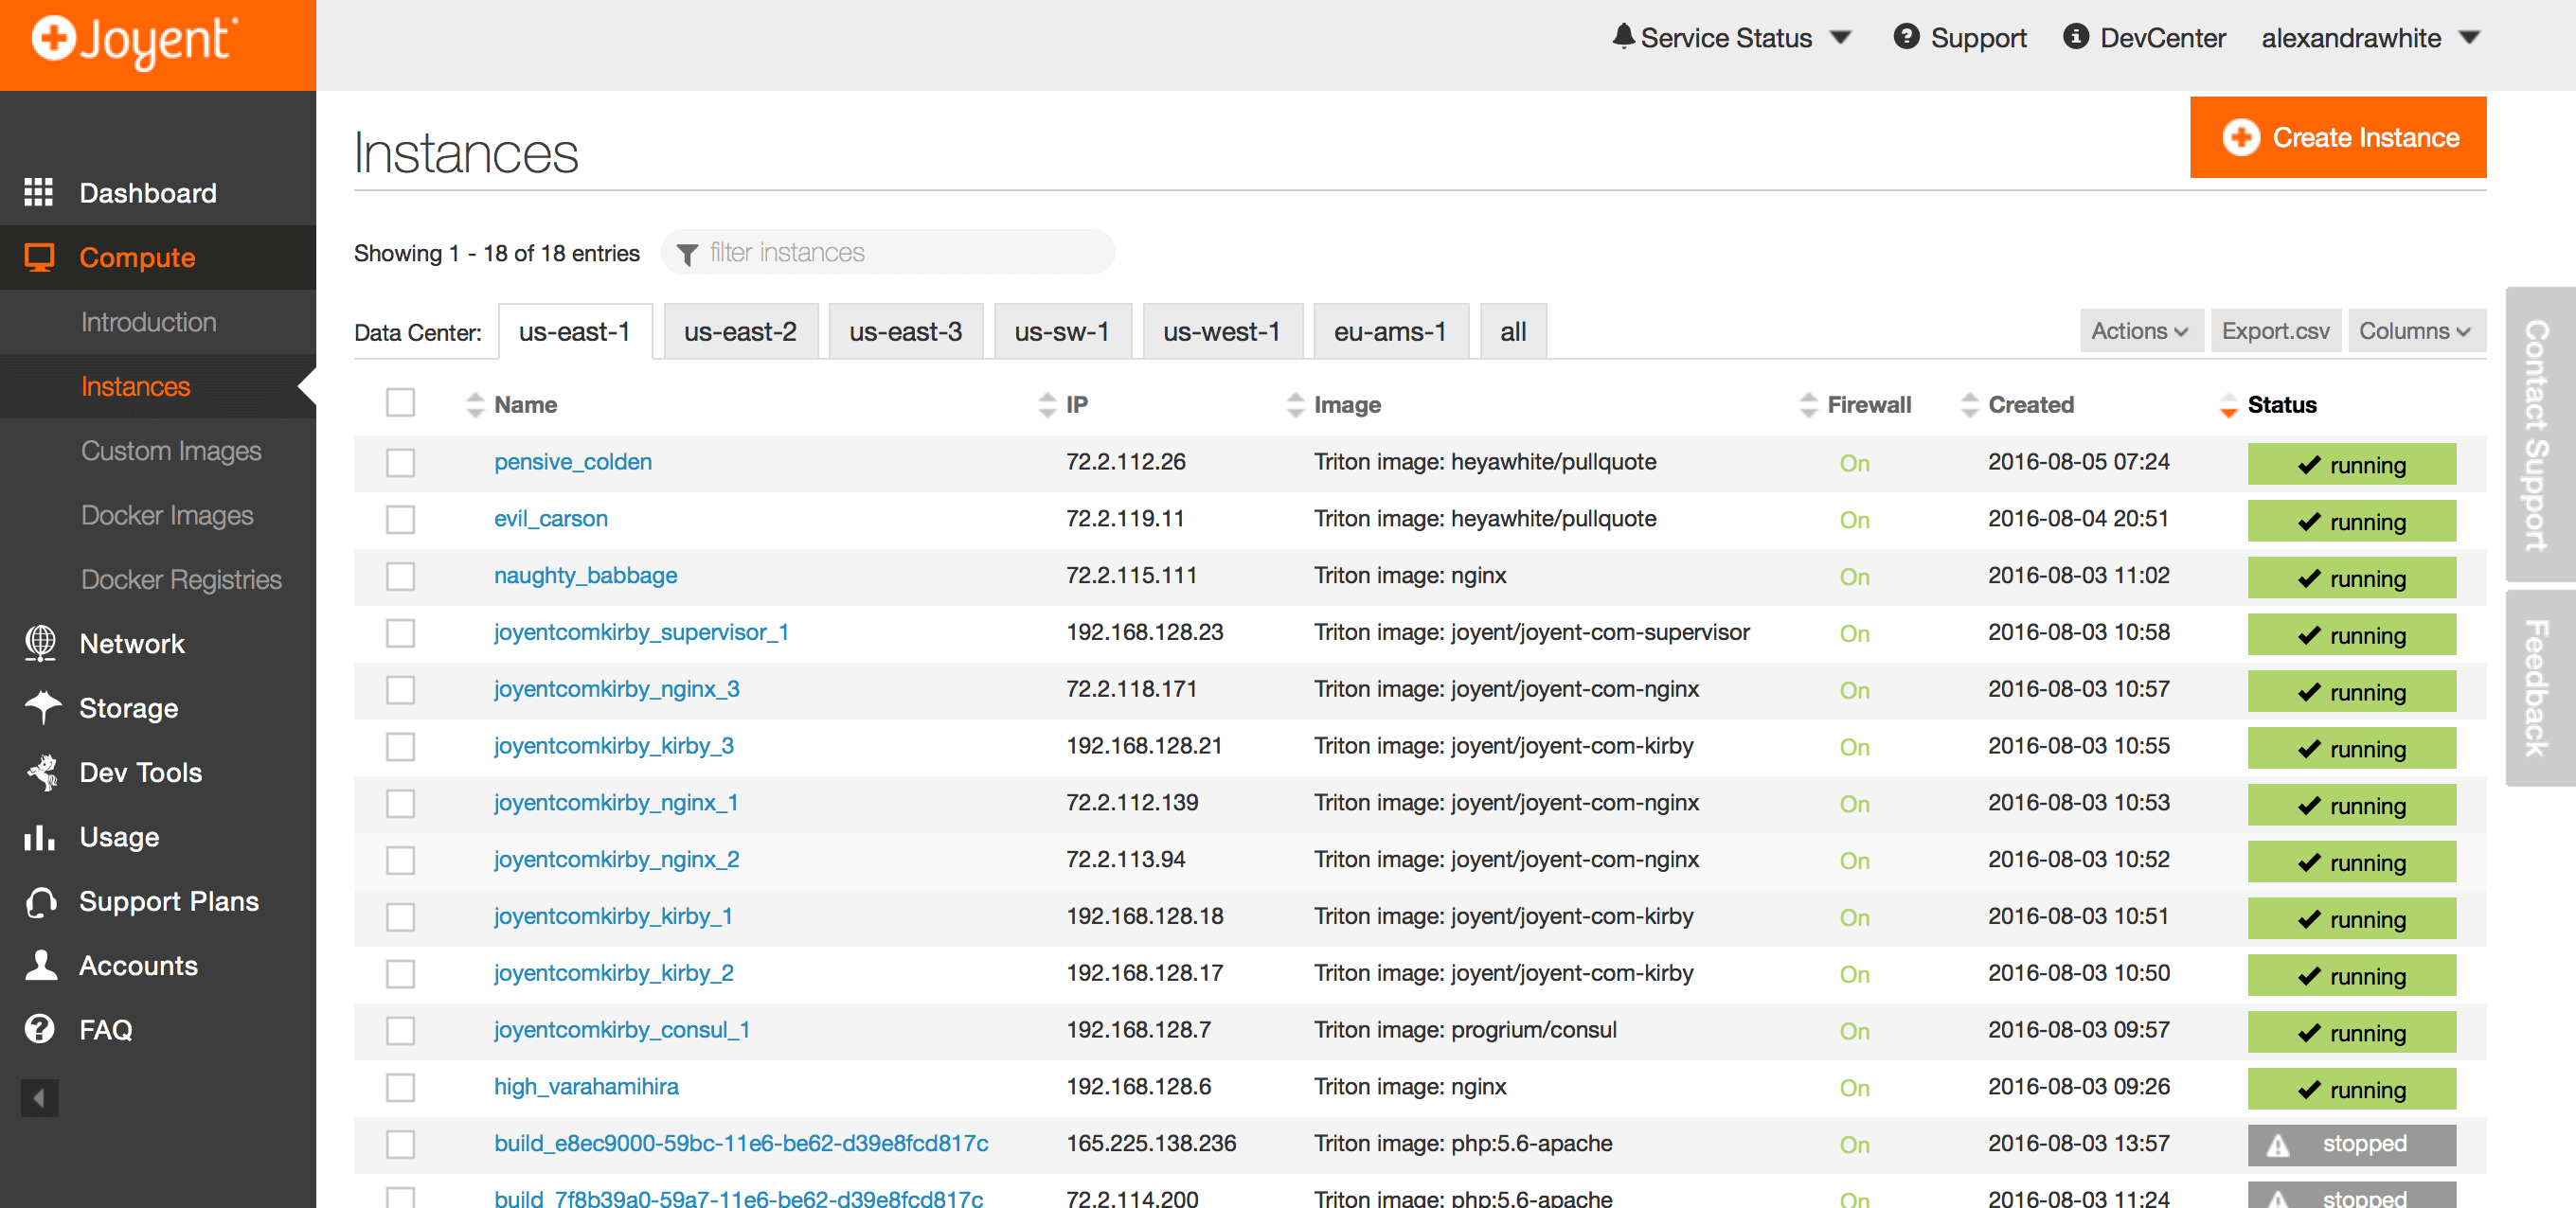
By clicking on the name of an instance running the pullquote image, you’ll see a summary of all of those instance details. There is a section called "DNS" which, once expanded, will give you the same list of DNS name options.
Copy the DNS name and paste it into your browser of choice to ensure it’s working as expected. You now have a URL which you can share with the world. Everyone can celebrate in the glory of your accomplishments.

That said, it is an awfully long string. With that DNS name, you can always assign it a prettier CNAME.
Watch the screencast
This screencast covers everything from installing Docker to building the app to running it in production on Triton Cloud.
If you've skipped ahead to watch the video, go back and follow the post step-by-step to dockerize your own version of the pull quote app.
In conclusion
What have we learned in this experience? There is certainly work that must be done at the front end of the process that can be intimidating. It was important to me to not only follow Docker’s documentation and Getting Started Guide, but to really read and understand some of the long list of commands available in Docker.
As far as the actual dockerization, it was surprisingly straightforward. Without building and running the app, all it took was creating a Dockerfile with seven commands (and in our case, three comments).
With our application in Docker, we were able to run it on our local machine, ensure it worked as we hoped, and then deploy it to Triton for the world to use. It was easy to test before deploying, ensuring that our product was top notch.
Finally, we were able to run that app in production on Triton without needing to setup any VMs or configure any Docker hosts.
So, what are you waiting for? Get dockerizing.